Categories
Categories
Brands
Brands
Rockwell Hardness Basics
Posted by on

Hardness testing has been around for many years. Each method was developed based on needs such as the hardness of a certain material, part shape, thickness and/or part size. As with most things, one size does not fit all, so to speak, which is basically why there are many different variations of hardness test methods like Vickers, Brinell, and Leeb impact.
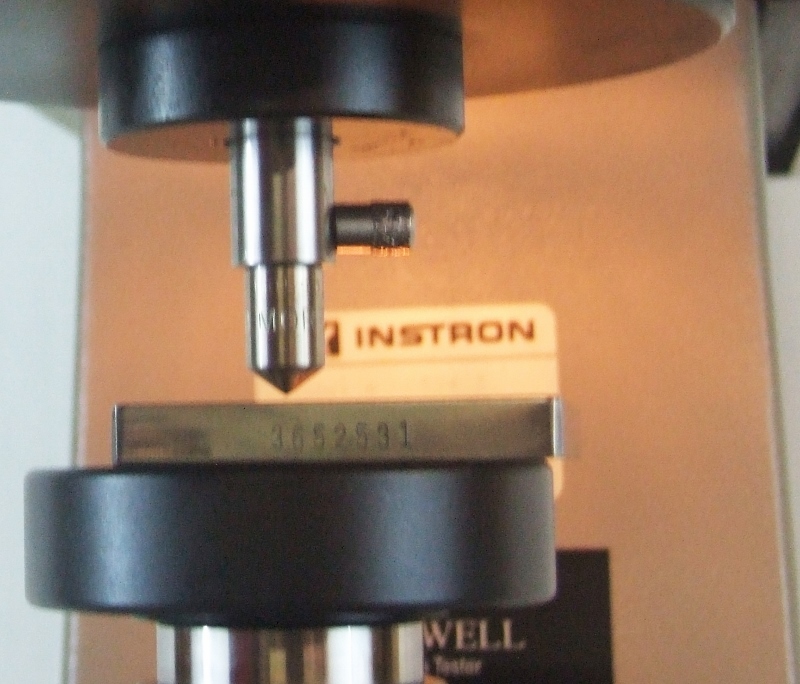
The most commonly used hardness test method is the Rockwell hardness test. This is largely due to the ease of use and that the result is read directly from the tester dial or digital readout. The Rockwell number comes from the distance that a diamond indenter or ball penetrator is forced into a material by a set load beyond the initially set pre-load or minor load.
Softer material such as plastic, soft steel, copper and aluminum require the use of a 1/16", 1/8", 1/4" or 1/2" carbide ball penetrator. The ball size is determined by which scale is being used. Hard materials such as hardened steels and carbide require the use of a diamond indenter.
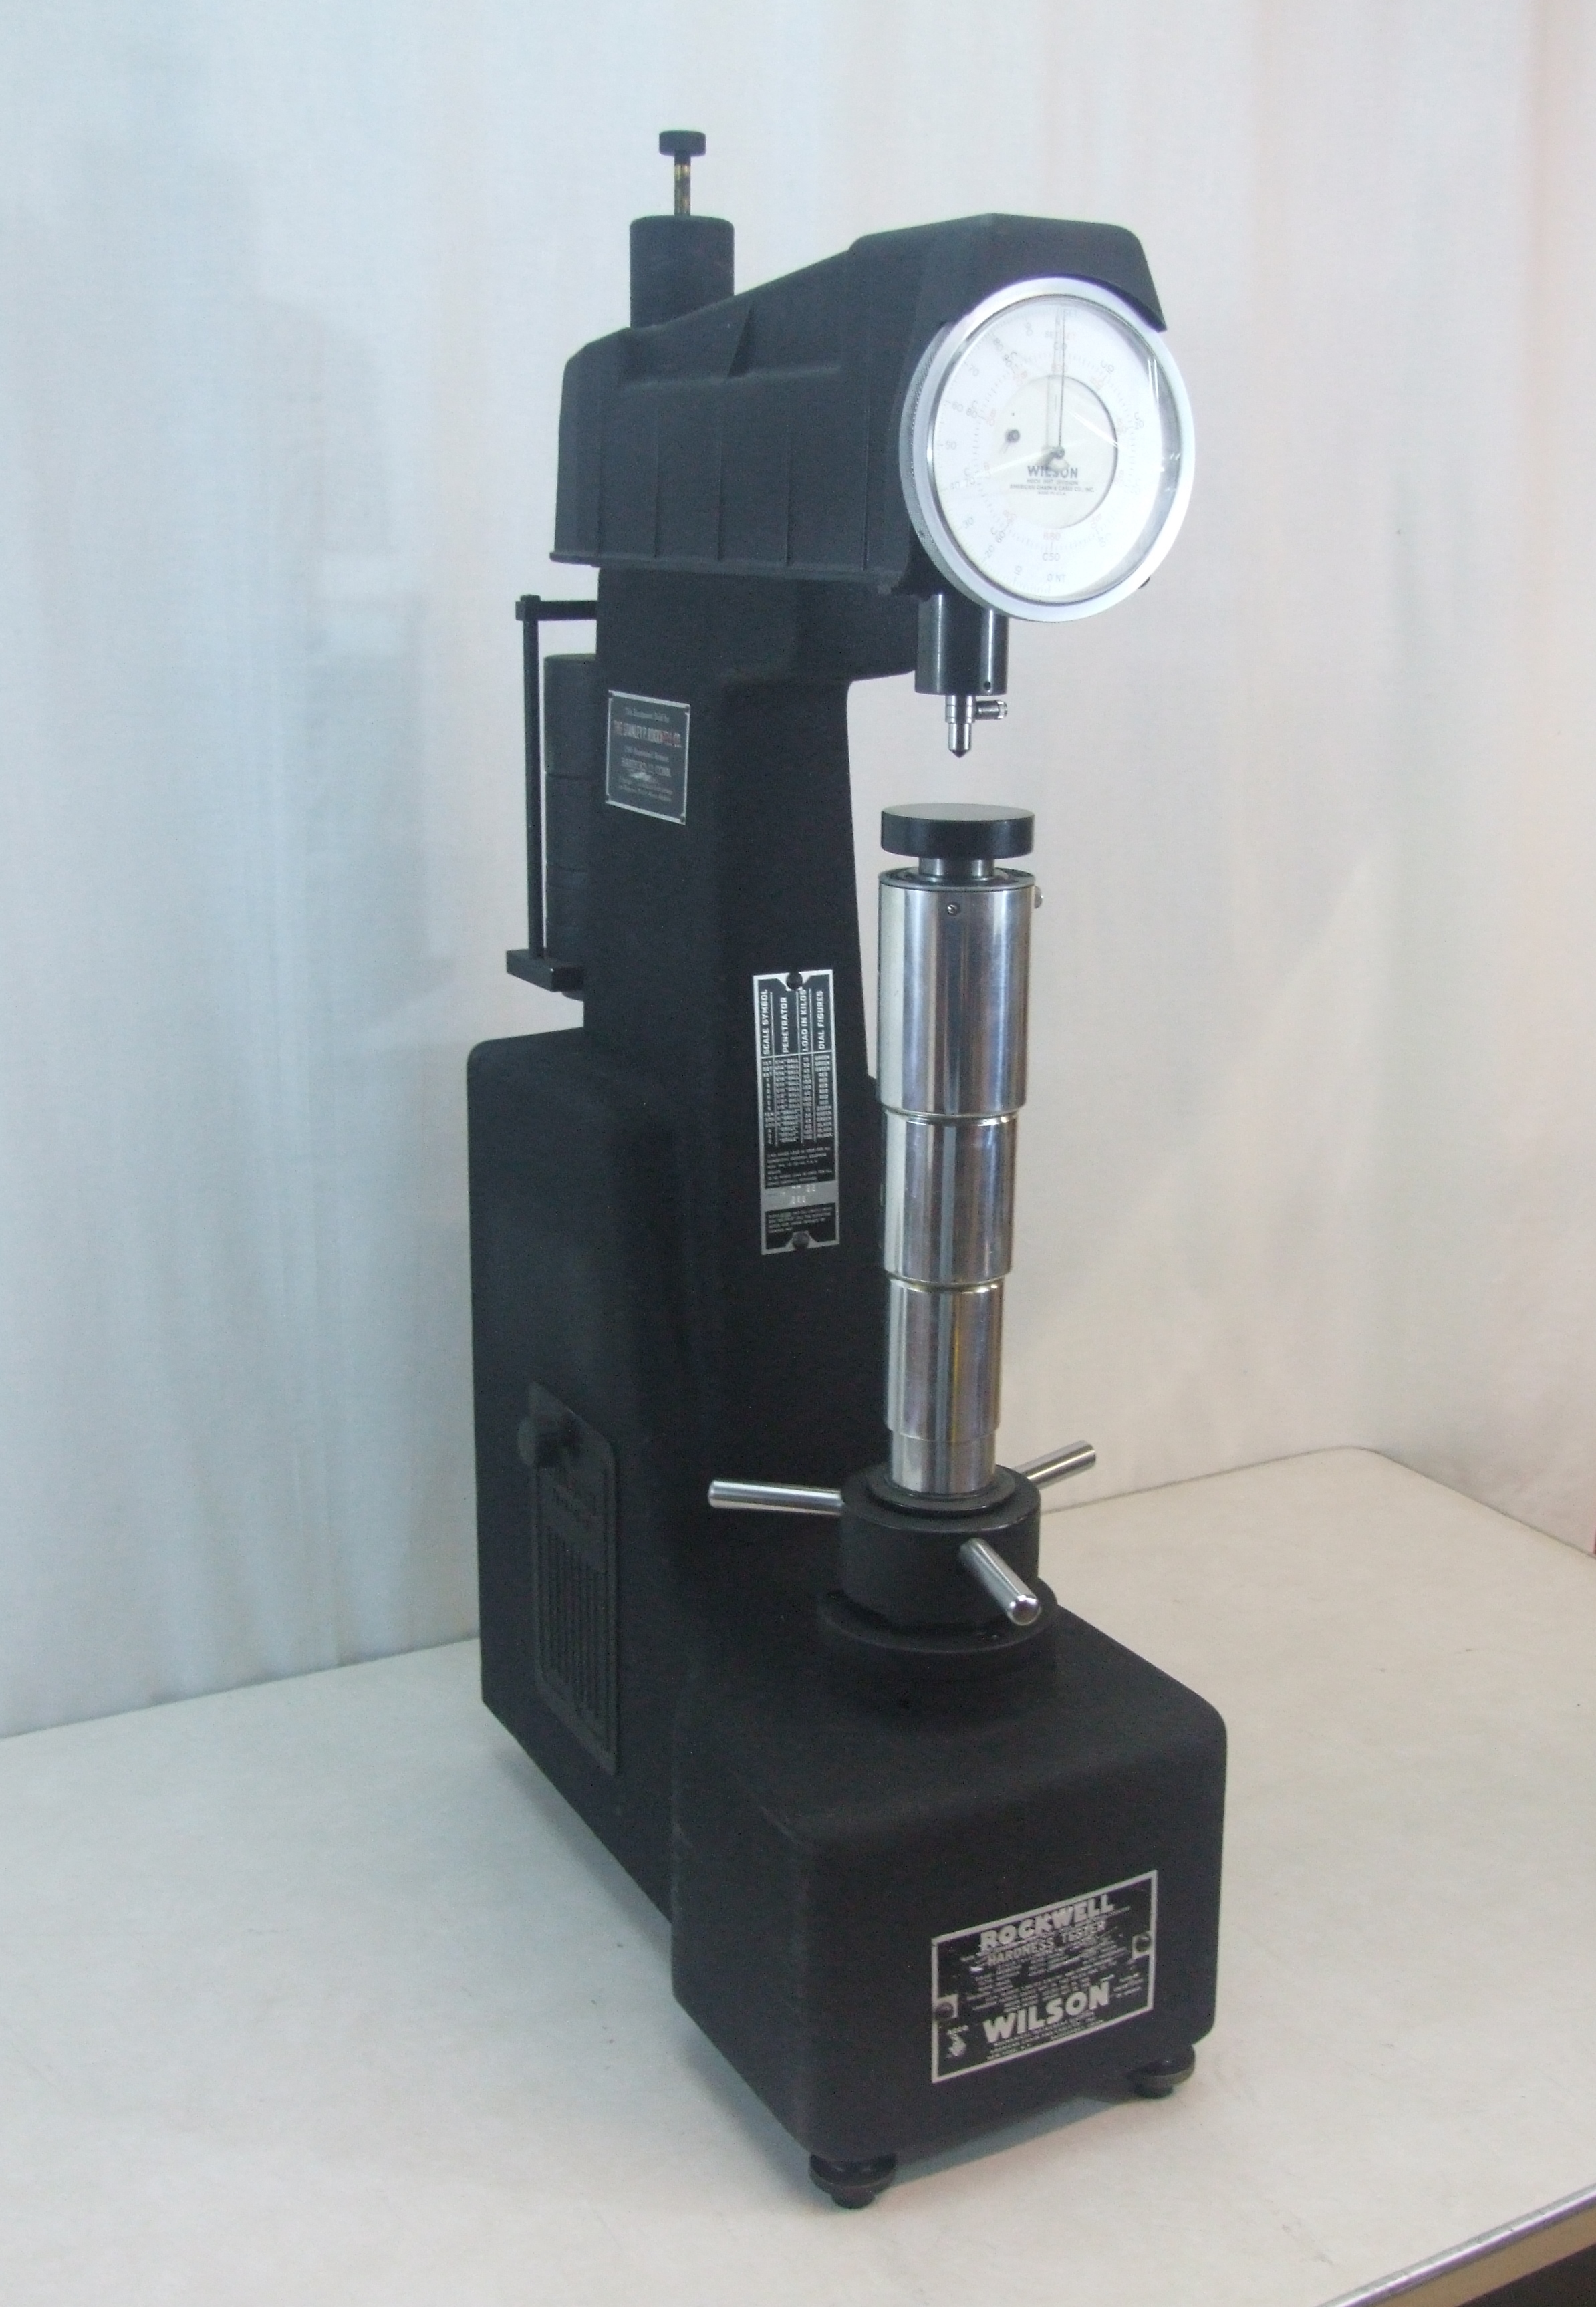
There are two types of Rockwell testing; Regular and Superficial. Regular Rockwell testing uses a 10 kilogram minor load and the major load will be 60, 100 or 150 kilograms. Superficial uses a minor load of 3 kilograms and a major load of either 15, 30 or 45 kilograms. The deeper the indenter or penetrator is forced into the material, the lower the Rockwell reading. Rockwell readings are broken down into scales that are each designated by a letter that signifies the minor load, major load and type of indenter or penetrator required for the test. Most hardness testers have a chart on them that shows the various scales that the tester can test in or you can refer to a Rockwell Hardness Scale Chart.
How do you determine which scale to use? First look at the material type. If it is steel, is it soft or is it heat treated and hard? Second look at the thickness of the part. If it is too thin, the indenter or penetrator may push through and give you a false reading and possibly damage the anvil. Hardness vs Minimum Thickness Charts are available to assist in determining the best scale to use for a certain material and thickness. After looking over the chart you may find that more than one scale can be used. It is a good rule of thumb to choose the scale with the heavier load. The heavier load will make a larger indentation and cover a larger area of the material. The reading that you get from the test will be more representative of the material as a whole. Apply this same principle when determining the hardness of a case hardened part with a known case depth.
In regards to cold working of the material by the indenter, the depth of material affected has been found to be about ten times the depth of the indentation. Therefore, unless the thickness of the material being tested is at least ten times the depth of the indentation, an accurate Rockwell test cannot be expected. Refer to a Hardness vs Minimum Thickness Chart as a guide to help determine which scale to use for your material thickness.
Make sure you do a trial test before you lock-in on a scale. If you see a bulge on the underside of the test area, the material was not thick enough for the load applied. This is known as the anvil effect and it indicates that the Rockwell scale applying the next lighter load should be used. When too much force is applied on soft material that is too thin, flow of the material will result. Keep in mind that when the anvil effect or flow of the material is present, the Rockwell hardness value most likely will be false. It is not recommended to stack several thin test pieces until a recommended minimum thickness or better is obtained. There may be slippage between the layers that will affect the result and you will end up with false readings.
It is very important to have at least three indentation diameters of distance from the center to center of each indentation. The reason for this is that the area that the indentation was made will be cold worked and have an effect on readings of the next test, if the indentation is too close to the affected area. The softer the material, the more attention needs to be placed to proper spacing. Don't get too close to the edge of the test piece or the material will yield. The distance from the center of the indentation to the edge of the test piece or test block should be at least two and one half indentation diameters.
While Rockwell hardness numbers should be reported on the same scale that the actual test was made, Hardness Conversion Charts are available and should typically be used as a guide. If for some reason converted values must be reported, be sure that your initial test was performed accurately and that the converted numbers are noted as such. Proper use of the conversion chart requires a proper reading to convert from.

The Rockwell hardness tester is a very durable piece of precision equipment that is suitable for use in a variety of locations including laboratories, production floor, heat treating, incoming inspection and more. The tester must be kept clean and in good calibration, and along with proper use, should provide accurate results in diverse applications and material types.
By Jeff Briley
Owner, Brystar Tools
 Loading... Please wait...